Getting Set up

Access 


Download Content Software installation

Mounting a Disc Image


Training


Prometheus - Installation - DRAFT

1 - Getting Set up

As noted above, one needs to be a registered user to add content or update information along with having some additional equipment added to the standard NLA Standard Operating Environment (SOE) workstation. To become a registered user please email the IT Service Desk. For installation of the Digital Preservation hardware, software and training please contact Digital Preservation on x1366/x1365.

Each collection area has requested a specific number of Digital Preservation mini jukeboxes - MyBorgs and associated computer PCI cards. These jukeboxes can be shared within a collection area if all the various users have had the Digital Preservation hardware (computer PCI card) and software installed upon their workstation. This process usually takes about 30 minutes.

Once the hardware and software components have been installed, and one is registered as a system user, via the IT Helpdesk, then enter the following web address into your Internet Explorer or Firefox web browser.

Direct Internet Explorer or Firefox to http://ourweb.nla.gov.au/apps/digipres-web/ and press ENTER to go the DPW Home Page. A web version of this user guide is available on the site via the "Help" link in the top upper right corner. 

Note:

  • Currently only Firefox Version 2 will render the web pages correctly.

  • Please TURN ON the mini-jukebox BEFORE turning on your computer, to enable the computer to recognise the existence of its drives (alternatively log off and then back on).

back to top

2 – Access & Navigation of the system

Step 2.1

Go to http://ourweb.nla.gov.au/apps/digipres-web/ and click on the Login button in the upper right corner of the user interface (highlighted in red rectangle).


Step 2.2


Step 2.3 


Step 2.4 


Step 2.5 


back to top

3 - Accessing Downloaded Disc Images

http://wincdemu.sysprogs.org/tutorials/install/

How to Install WinCDEmu

If you want to seamlessly mount ISO files and other optical disc images by double-clicking at them in Explorer, you need to install WinCDEmu. Alternatively, you could use the portable version that does not require installation, however, it does not integrate itself into Windows Explorer and requires starting the application manually to mount or unmount images.

To install WinCDEmu, do the following:

  1. Download the latest version from the WinCDEmu homepage.
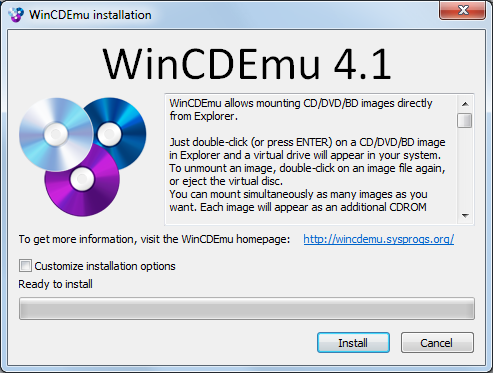
  2. Run the downloaded file:
  3. Confirm the installation:
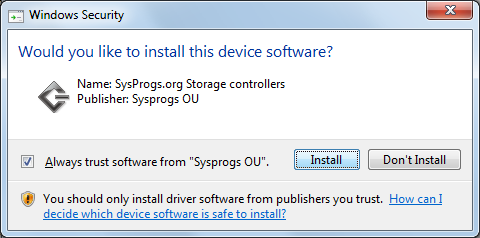
  4. WinCDEmu driver binaries are signed, so that the 64-bit Windows will load them. However, they do not have the WHQL certificate, so Windows will ask you to confirm driver installation:
  5. Select "Install this driver software anyway".
  6. Once the installation is complete, you can mount the optical disc images by double-clicking on them in Windows Explorer. A step-by-step tutorial is available here.
  7. If you have any questions or problems, feel free to post on WinCDEmu forum.

3.1 - How to Mount an ISO File Using WinCDEmu


http://wincdemu.sysprogs.org/tutorials/mount/

An ISO image is simply a "virtual copy" of an optical CD/DVD disc. Lots of software is distributed in the form of ISO images (e.g. you can download Windows 7 Service Pack ISO from Microsoft website). To mount an ISO file means to access its contents as if it was recorded on a physical medium and then inserted in the optical drive. If you downloaded a software in the form of an ISO image and want to install it, mounting it will be faster and easier than recording it on an actual disc.

To mount an image you need to install WinCDEmu. Then follow these steps:

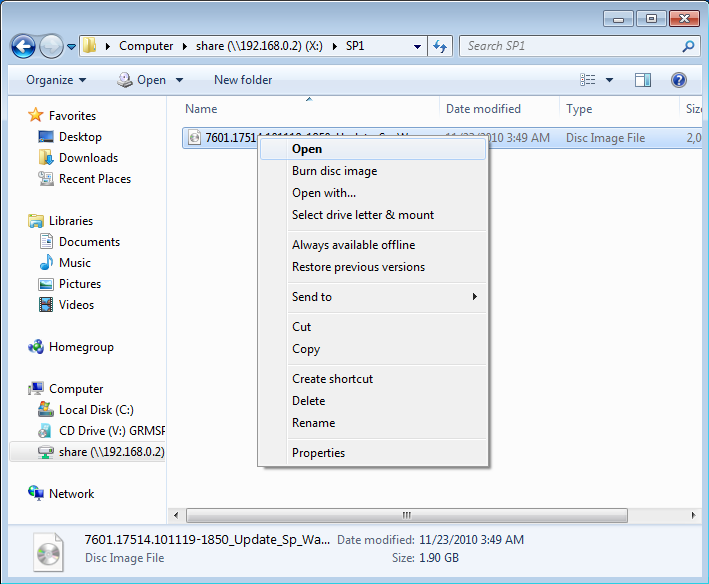
  1. Open the folder containing the image file:
  2. Double-click at the image. Alternatively, you can right-click and select "Select drive letter & mount" from the context menu.
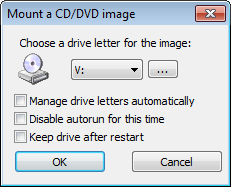
  3. Click at the OK button or press enter. If you don't want to see this dialog every time you mount an image, set the "Manage drive letters automatically" checkbox.
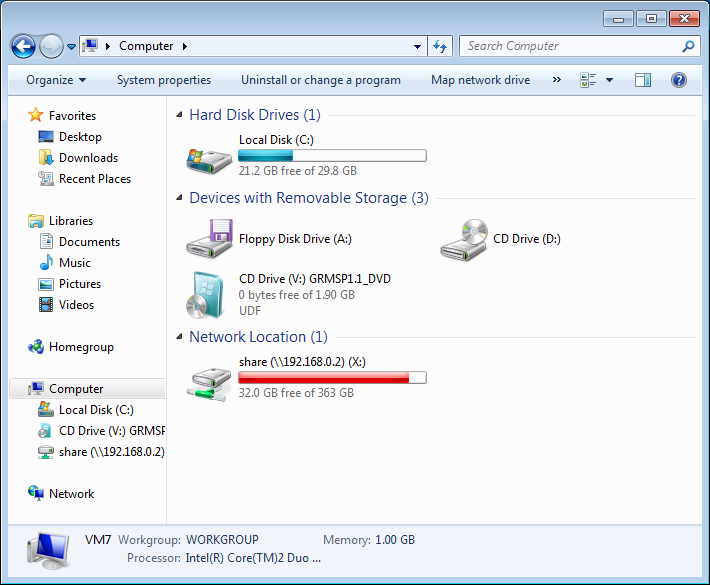
  4. A new virtual drive will appear among all other drives in the "computer" folder:
  5. You can use the virtual drive the same way as you would use a "real" optical disc - browse its contents, open files, start programs.
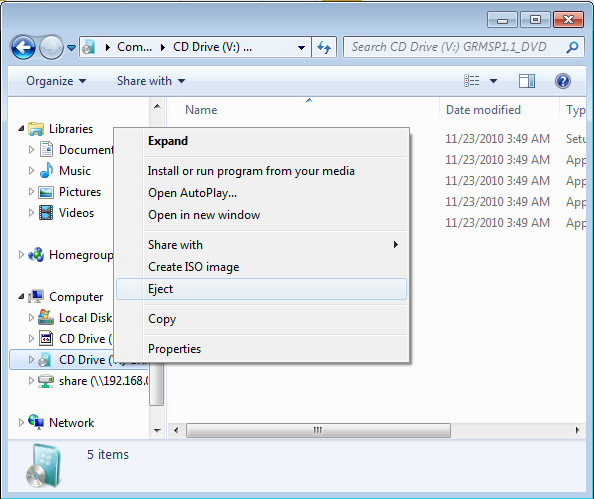
  6. Once you are done with the image, right-click on the virtual drive and select "Eject":
  7. You can alternatively unmount the image by double-clicking at the image file again.
  8. If you have any questions or problems, feel free to post on WinCDEmu forum.

11 - Training

Should you wish to register for require initial training or refresher training for using the Prometheus Digital Preservation Workbench please make your request through the IT Service Desk and selecting Digital Preservation as the Service Group. 
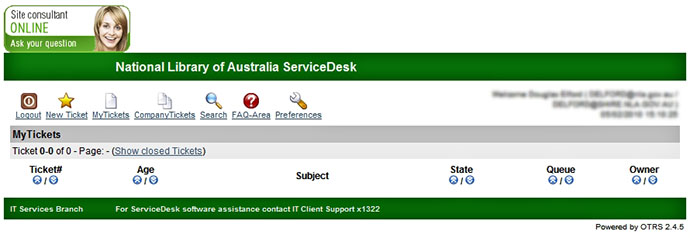
NLA Serice Desk


back to top